Transformations with the Azimuth and Inclination Controls
Azimuth and Inclination controls are available in three places and gives us more precise ways to transform (scale, pan and rotate) an object:
-
The viewer's Properties window:
-
The viewer's ribbon
-
The Application Properties window:
Double click on the viewer module to open the Properties window with view controls including sliders and an array of buttons. These controls allows you to instantly select a view from any azimuth and inclination. For a given (positive) inclination, selecting different azimuth buttons is equivalent to flying to different compass points on a circle at a constant elevation. The azimuth buttons are the direction from which you view your objects. (i.e. 180 degrees views the objects from the south). An inclination of 90 degrees corresponds to a view from directly overhead, 0 degrees is a view from the horizontal plane (side view) and -90 degrees is a view from the bottom.
c. Use the Azimuth and Inclination Panel to obtain a specific view by setting the scale slider and inclination slider to desired settings and click once on the desired azimuth button. If you choose a scale of 1.0, an Inclination of 30 degrees and an azimuth of 200 degrees

The viewer will show:

The Advanced options provide the ability to allow rotations about a user defined center, as opposed to the default center of the objects, which is chosen by EVS. Additionally you can apply a ROLL to the view which will make vertical objects (such as the Z axis) not appear vertical.
Below the Advanced options, there are three buttons
- Set to Top View: Returns the model view to Azimuth 180, Inclination 90 and Scale of 1.0
- Zoom To Fit: Returns the Scale to 1.0
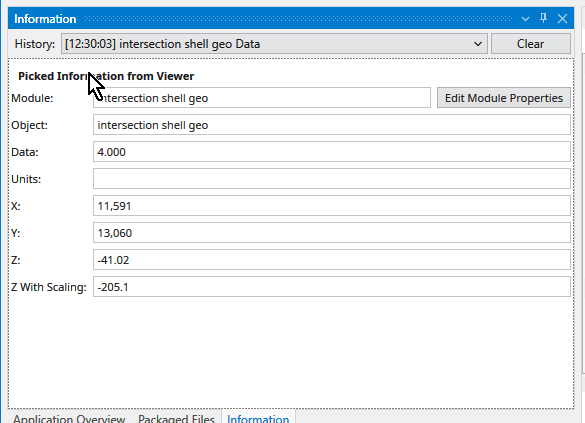
- Center On Picked: This button is normally inactive, but is activated by probing with CTRL-Left mouse on any object in the view. The default center of an object shown in our viewer is midway between the min-max of the x, y and z dimensions. This button then causes the view to recenter on the selected point. When you pick a point on an object, the following information is displayed in the Information window.

The Perspective Mode toggle switches to Perspective (vs. Orthographic) viewing. In perspective mode, parallel lines no longer appear parallel but instead would point to a vanishing point.
The Field of View determines the amount of perspective. Larger values result in more perspective distortion.
The Render selection allows you to choose between OpenGL and Software renderers. On some computers with minimal graphics cards Software renderer may perform better or be more stable.
Auto Fit Scene: The choices here include:
- On Significant Change: This is the default behavior which causes the view to recenter and rescale if the extents of the view would change significantly. Otherwise the view is unaffected.
- On Any Change: This causes the view to recenter and rescale if the extents of the view changes at all
- Never: The view will not change if objects change.
The Window Sizing options
- Fit to Window: The view size is determined by the size of the viewer window
- Size Manually: The view size is set in the Viewer Width and Height type-ins below to a specific size. The viewer then has scroll bars if the view size exceeds the window size.